Jim Pavelec is an occult artist currently creating paintings and drawings delving into the demons of the Ars Goetia and the witches who conjure them. He has created a unique visual style in his paintings by utilizing mixed media techniques, including digital media. He currently specializes in fine art but has been a professional illustrator for many fantasy and science fiction projects, such as Magic: The Gathering, World of Warcraft, Star Wars, Dungeons & Dragons, and many more.
In this tutorial, Jim walks us through the process of creating a commissioned fantasy portrait using his unique mixed media approach that moves between traditional and digital media, combining real world pencil and paint with the ArtRage for iOS app.
Introduction
I recently transitioned from a career in fantasy illustration to one in fine art. As an illustrator my work had stagnated, and I was not making art that was meaningful to me. My decision to switch careers and styles was not an easy one, but ArtRage’s versatility and ease of use entirely changed my workflow, and empowered my imagination to delve into areas I had long dreamed of exploring. ArtRage allowed me to expand the boundaries of my abilities and develop a new style that is unique and satisfying to my audience and me.
I love using the ArtRage app on my tablet. Its user interface is my favorite, by far, of the various art apps I have experimented with. It has all of the tools and functionality that I need, without being cumbersome. I’m going to take you step by step through my creative process for a painting. Hopefully you will pick up something that will help you think differently about the possibilities in your work.
I was recently contacted by a patron to paint a portrait of her as a witches in my “Daughters of Salem” series. This is one of my favorite things to do. Because the patron and the subject are one in the same, a deeper personal connection between the patron, artist and painting evolves.
Website: www.arsgoetia.net
Why do you use ArtRage? What features do you like about the program?
I love using ArtRage on my iPad Pro. The program is incredibly fast, never bogs down or crashes, and prompts me to save regularly without being overbearing. The Oil brush is a fantastic tool, giving the feel of actual oil paint on a digital surface. Combined with the Palette Knife tool, you can get great mark making and blending. Another great feature is the ability to move back and forth between all of the different mark making tools (Oil Brush, Pencil, Marker, Pastel) without worrying about how the media will interact with each other, something that just isn’t possible with traditional media.
My favorite part of ArtRage is the speed with which you can import new layers directly from your photo library, adjust their size, orientation, and placement, as well as adjust their opacity and layer mode. This feature is indispensible for my artistic process.
The Painting Process
Setting Up the Sketch
- Create pencil sketch thumbnails
- Import photos of sketches to ArtRage to choose the best option
- Redraw the selected thumbnail in detail
- Scan to ArtRage and clean up image
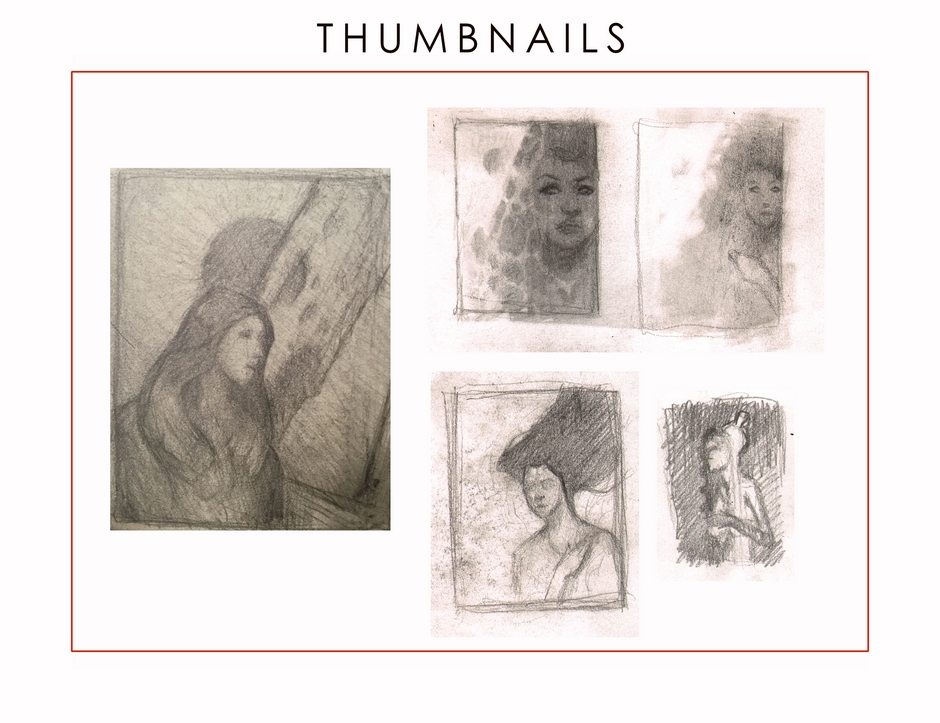
I start working on traditional pencil thumbnail sketches in my sketchbook. When I have one I like I take a picture of it on my iPad and import it into ArtRage. I have found that jumping into ArtRage with a decent thumbnail, even if it doesn’t wind up being the exact solution, is the best first step for me to get to a solid final painting. Speed is the important thing early on. I need to work around my original idea on the path to finding the best possible solution. ArtRage gives me license to do just that.
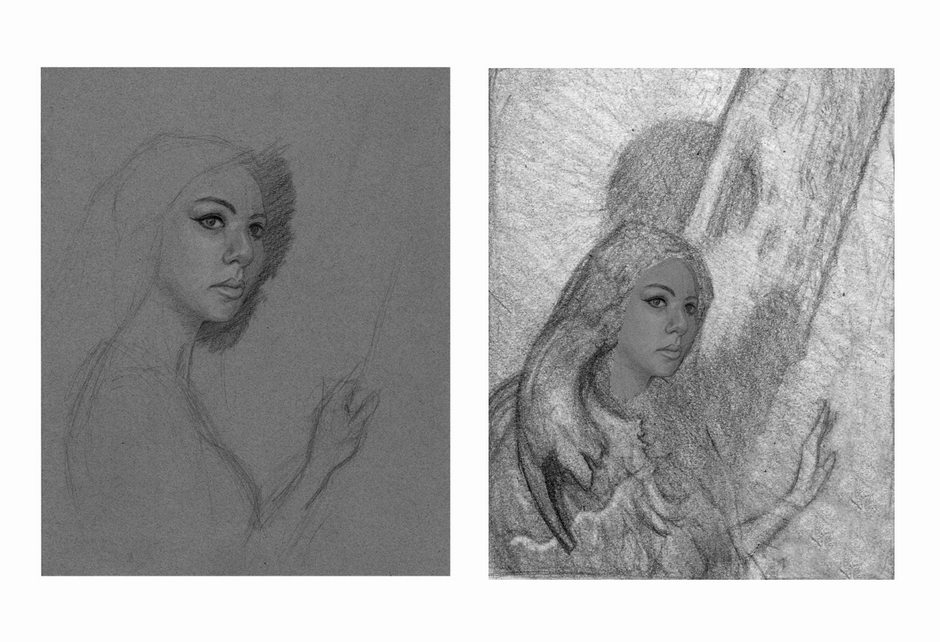
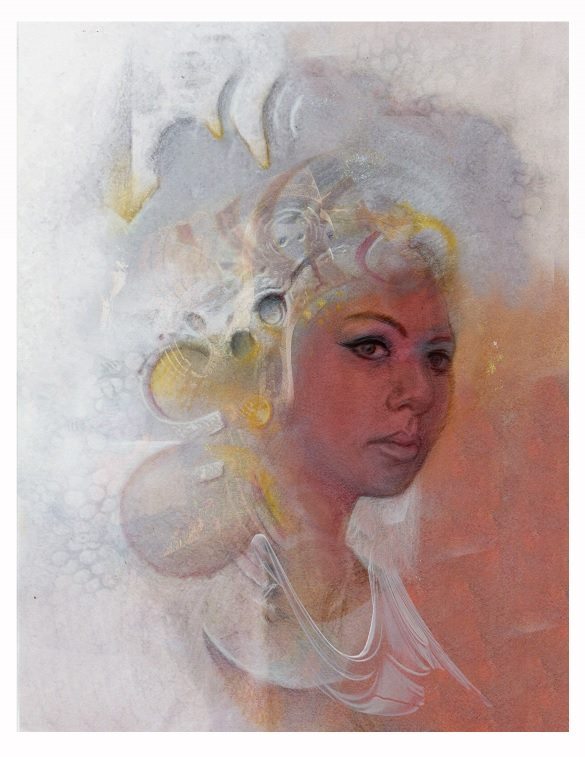
Thinking that I’m on the right track, I draw a tight rendering of the patron’s face on toned paper. I scan that and import it into the app, drop it onto my thumbnail in a new layer and move the opacity slider to 59% so I can see the drawing and the thumbnail underneath at the same time. I use the “transform layer” function to place the face properly and the eraser tool to get rid of the excess gray.
Mixed Media Effects
- Import existing photographs and paintings onto the drawing
- Experiment with layer modes and options
- Use the results to decide what direction to take the painting in next
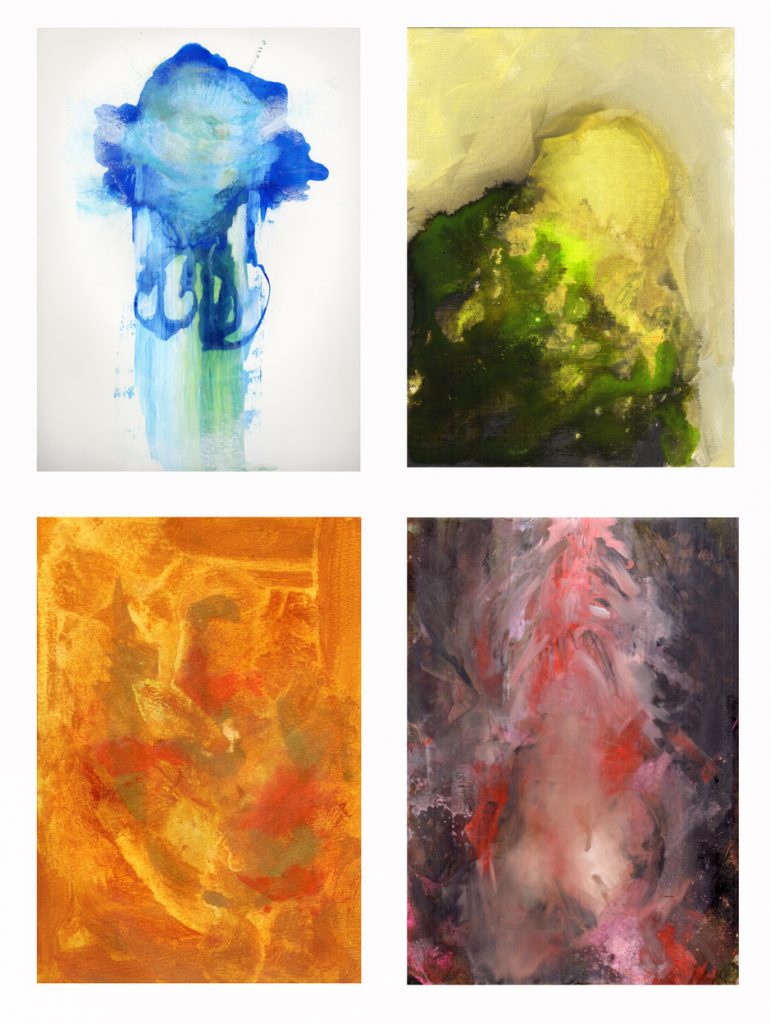
Now the real fun begins. I use a technique in which I drop in multiple layers of pre-existing artwork. These pieces are a combination of quick mixed media pieces that I have previously done and photographs I have taken. I toggle through the layers ,adjusting the opacity slider and changing the layer mode on each layer until interesting shapes or color patterns begin to appear. The Difference and Exclusion modes are quite useful in the development of shapes and tonal patterns you might not have initially considered.
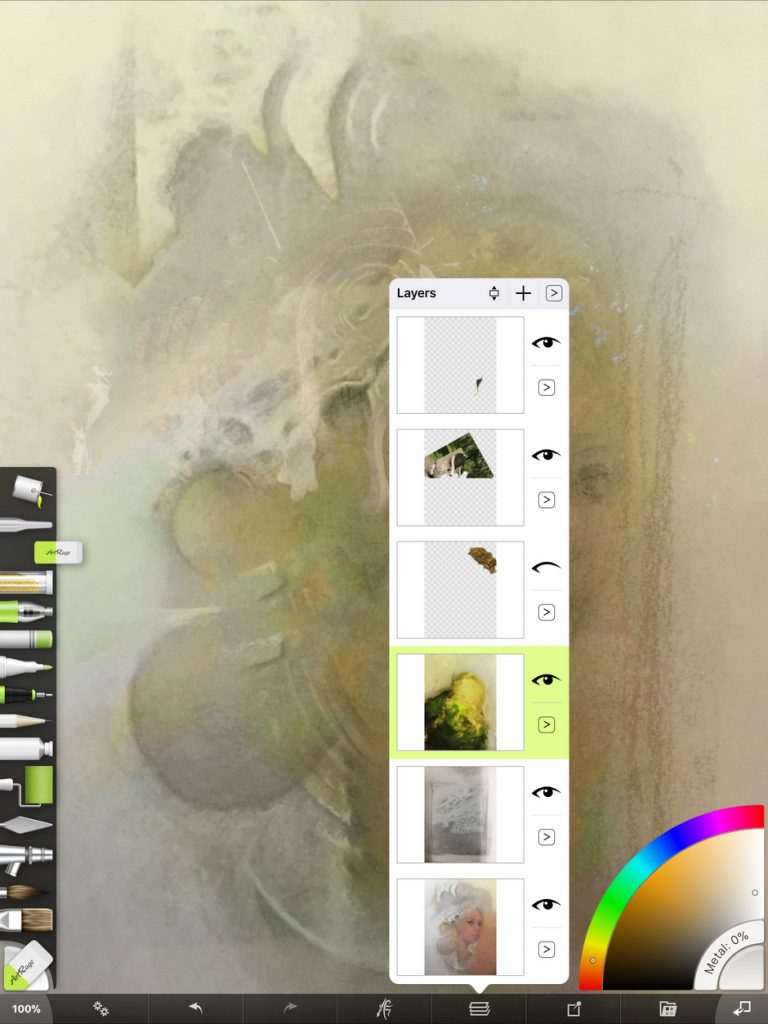
Here are some of the mixed media pieces I used in the development of this piece, as well as a screen grab of one version of the piece in progress. The important thing to know about these pieces is that they are entirely stream of consciousness. I set out a bunch of different media and just do whatever feels good at the moment. For these pieces nothing is precious. None of these are going to be finished art, so I scrape and scratch and splash to get the desired results. The only thing that is important is that I get a decent digital file of the piece that I can use in ArtRage. Most of these preliminary works wind up in the trash because the media on them are unstable when mixed together.
Continuing to Paint
- Start painting over the sketch in ArtRage
- Or print out the image again and work on it traditionally
- Continue experimenting with colors and composition and other options
At this point in my process I go in one of two directions. I add a layer in ArtRage and paint directly over what I have with the brush tools and palette knife, or I print the piece out onto bristol paper and work on the piece in pastel. I love the Roller tool in ArtRage. It allows you to cover large areas of the canvas quickly, and by adjusting the Thinners and Loading settings you can change the resulting texture of the paint on the canvas.
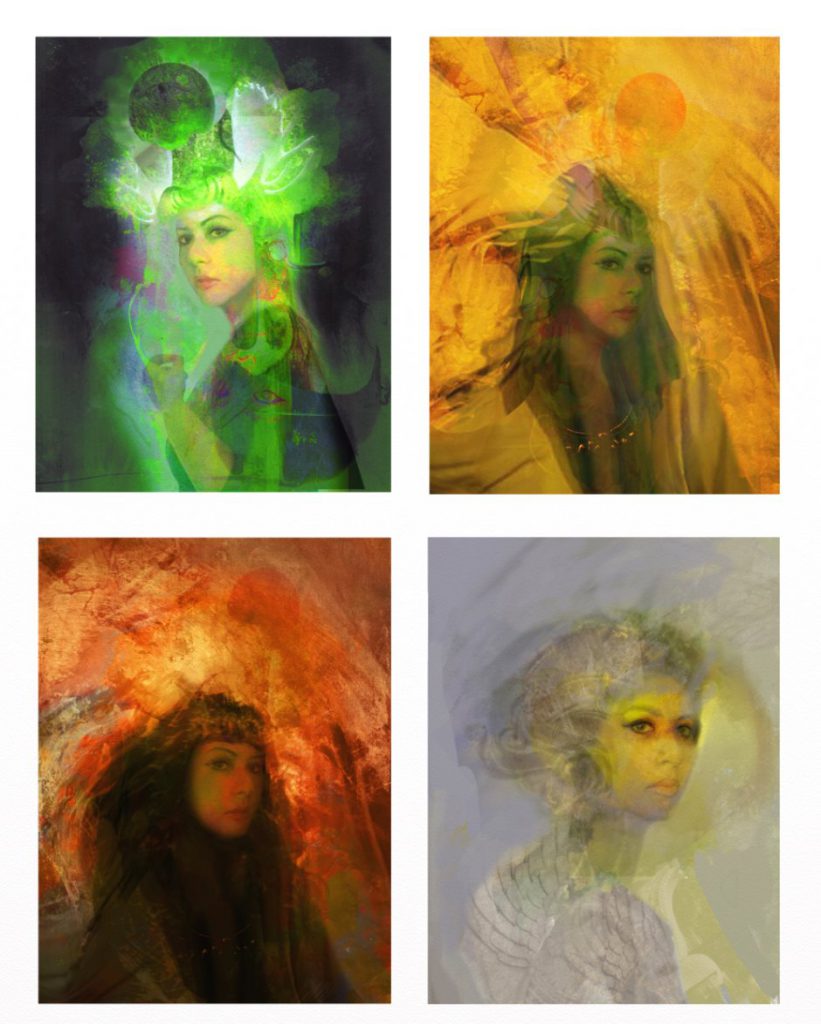
I will often get quite far into a piece and realize it isn’t quite what I want, and so I begin over. I view this stopping and starting again an integral part of my workflow now, and don’t consider it a waste of time, as it leads me to a better finished piece. ArtRage’s flexibility has expedited this process for me in many ways. I know myself, and I know that if I’m not happy with a piece when I get to the time consuming oil painting phase, I’m going to be miserable. All of this preparatory exploration will save me a mountain of grief by the end of the painting.
Here are many of the variations that I considered going to final on in this process.
Client Feedback and Finishing Up
- Send near final version to the client
- Incorporate feedback and settle on a final design
- Print out the final image and admire
I arrived at what I believed was the solution and sent it to the client. She responded, hoping for a more straight on view of the face, and more color. This is part of just about any kind of commission process, and it was absolutely no problem to adjust to what she wanted.
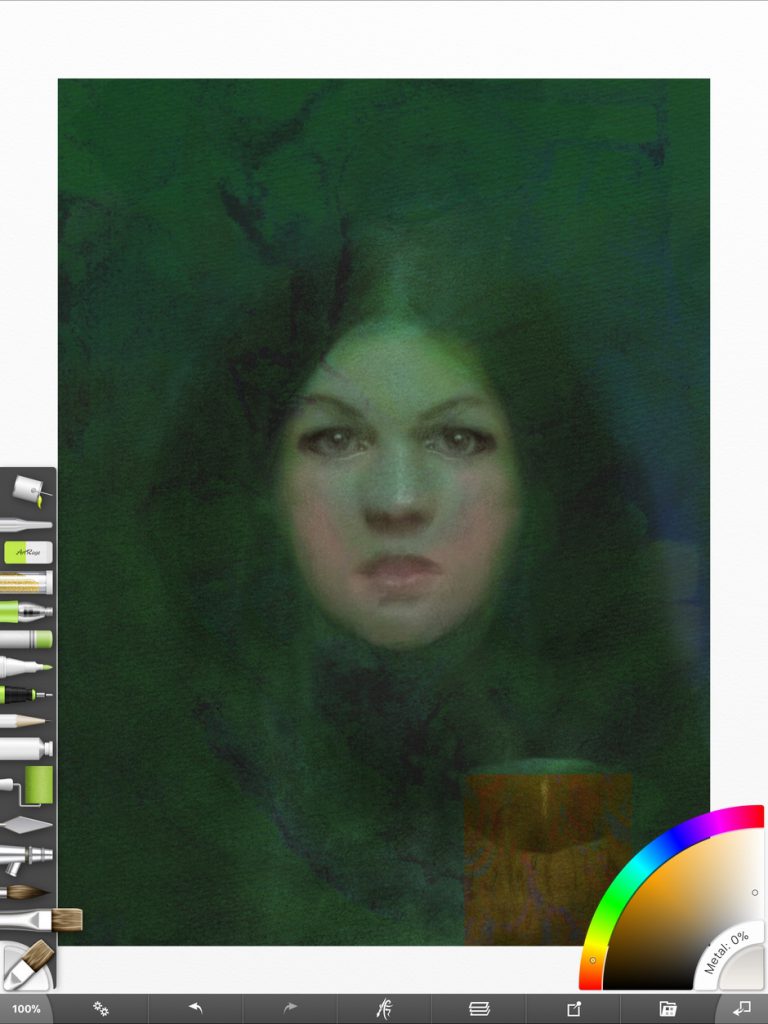
On my very next attempt I hit on a composition and color palette within the first hour that both I and the client were happy with. I added a graphic element to the foreground to achieve a color scheme I was happy with, printed it out at high resolution on my printer, mounted it to masonite and began oil painting. Here you can see ArtRage file I printed out for the final painting.
Final Image
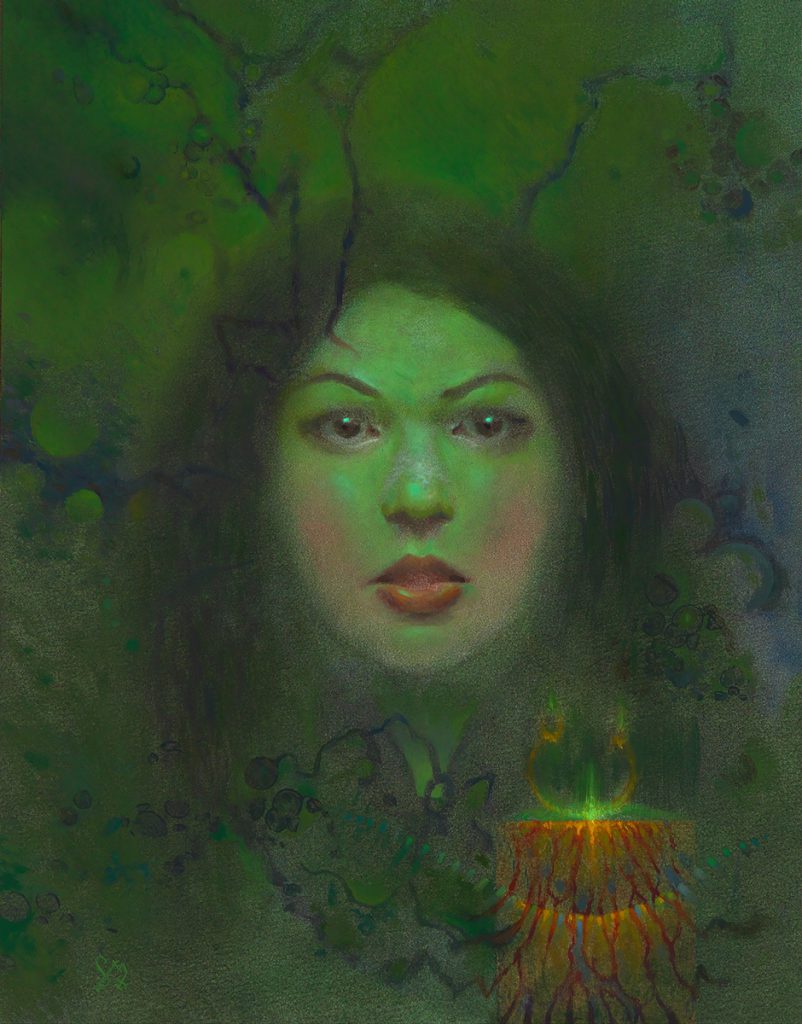
Because so much care was taken in the early stages of the development of the piece, once traditional painting begins there is little more to do then enjoy the physical process of oil painting, and explore more in depth the properties of the paint. Here is the final oil painting, “A Daughter of Salem.”
This process I have developed may seem to many to be labor intensive, requiring many steps that seem extraneous. But it helps me to see things I wouldn’t have seen previously, and has allowed my artwork to grow exponentially in both its variety and impact on the viewer. I sincerely believe this would not have been possible in such a short period of time without the performance capabilities of ArtRage. It’s fast, streamlined while not lacking features, and portable. I look forward to discovering new possibilities in the program, and hope you do as well.
Name: Jim Pavelec
Country: USA
Job: Professional Illustrator
Art Style: Mixed media, occult fantasy.
Background: Traditional Art
ArtRage Edition: ArtRage for iOS
Platforms and Hardware: iPad Pro
You can see Jim’s work and purchase prints on his website at www.arsgoetia.net, or follow him on Instagram and on Facebook.