 The Ink Pen
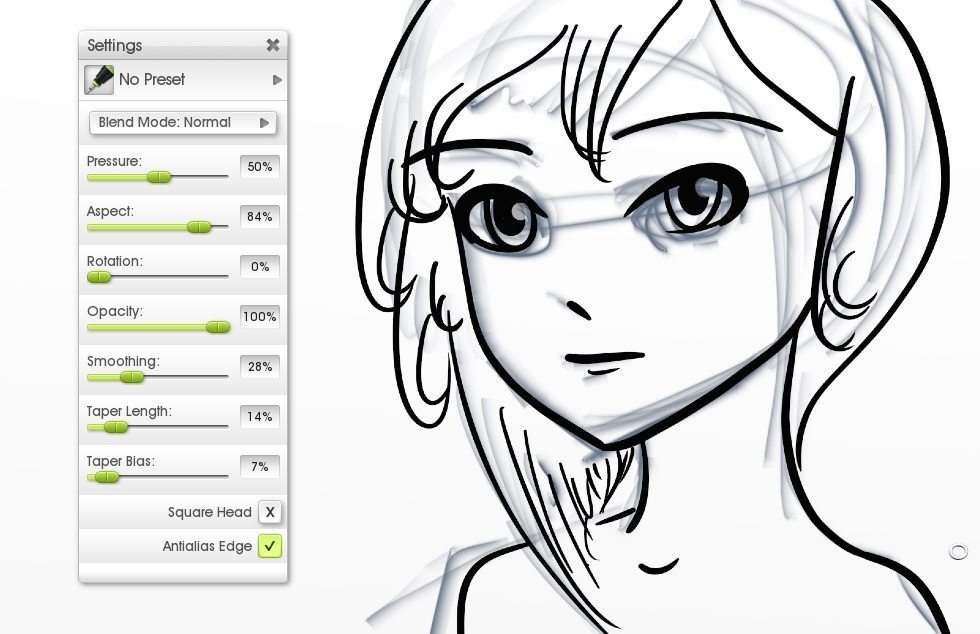
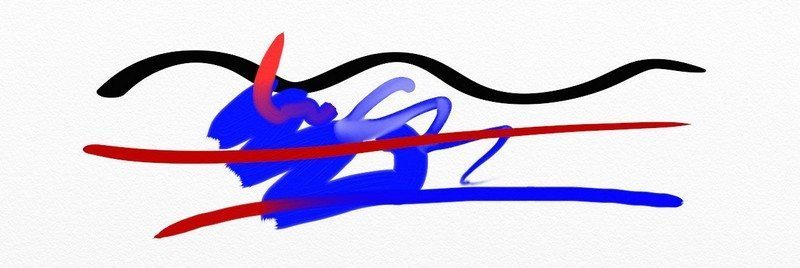
The Ink Pen in ArtRage is a purely digital, very customisable, inking tool that can be used for line work, writing, and colouring. It is found in every mobile and desktop edition of ArtRage, except for ArtRage 2.
The ink pen is not affected by paper texture or canvas lighting.
It will not mix as you draw over other media, such as oils and watercolours, and they in turn will not affect the ink if you paint over the lines.
The Ink Pen Settings
Note: Video is in ArtRage 5, screenshots on this page are from ArtRage 4
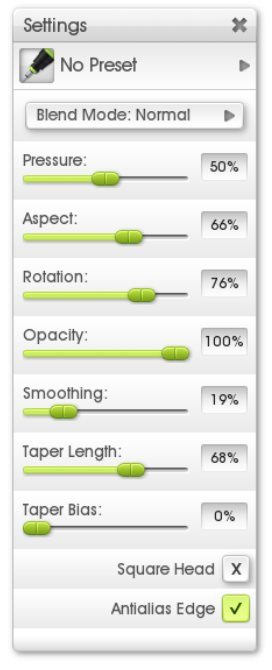
Ink Pen Settings can be divided into three kinds of effects. You can combine these in different ways to create a wide variety of lines.
Note: The settings below are from ArtRage 4. Older editions and mobile apps will have many, but not all, of these options
.Shape
Shape controls the type of nib you are using and the shape of the line it creates.
- Aspect
- Square head
Drawing Method
Drawing method affect the way you draw the line – how smoothly, how you angle the pen, how you vary pressure.
- Pressure
- Rotation
- Taper Bias
- Taper Length
- Smoothing
Ink Appearance
Ink appearance affect how the ink itself looks – whether it’s translucent or pixelated at the edges.
- Opacity
- Anti-Alias Edge
The Settings are explained in detail below in order of appearance in the Settings menu.
Pressure
Pressure is how hard you are pressing the pen by default. You can then vary this with the actual pressure you are using with the stylus.
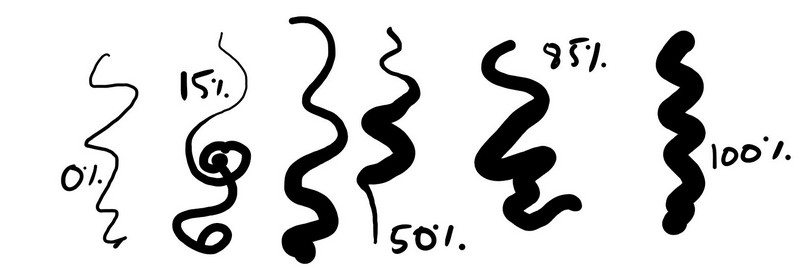
- 0% and 100% do not let you vary the pressure and will create consistent lines
- 50% gives you the widest range of pressure as you can press harder and lighter.
Aspect
Aspect is the shape of the ink pen nib (or the position you’re holding it in – same result in digital). You can change the appearance from flattened to completely round to get the exact effect you need for inking lines, calligraphy or general drawing.
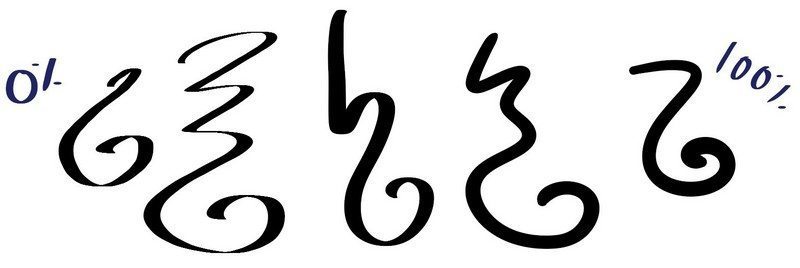
- 100% Aspect (the same on all sides) is best for a consistent line or for colouring larger areas.
- 0-50% is great for fancy linework and variable shadows.
- Combine Aspect with Rotation to get exactly the result you want.
Rotation
Rotation controls the angle you are holding the pen at. Use rotation to set the correct angle for line work. This can be good for line art with shadows or calligraphy.

- It only shows up with Aspect less than 100% (because rotating a perfectly round object does nothing).
- 0% and 100% are straight up and down, and 50% is straight across.
- 25% and 75% angle more subtly, so the effect is easier to miss.
- Experiment with Aspect and Square Head at the same time to get the effect you want.
Opacity
Opacity is how solid or translucent the ink is.
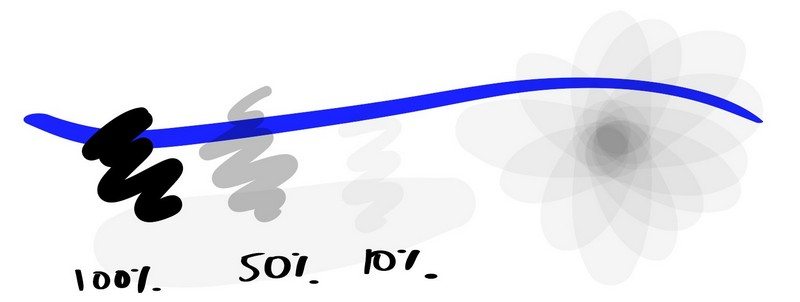
- 0% is invisible!
- Lower opacity lets you layer colours and build up to exactly the effects you want.
- Don’t forget that paint will show through from the layers below.
Smoothing
Smoothing is the line stabilising setting that autosmoothes your lines as you draw.
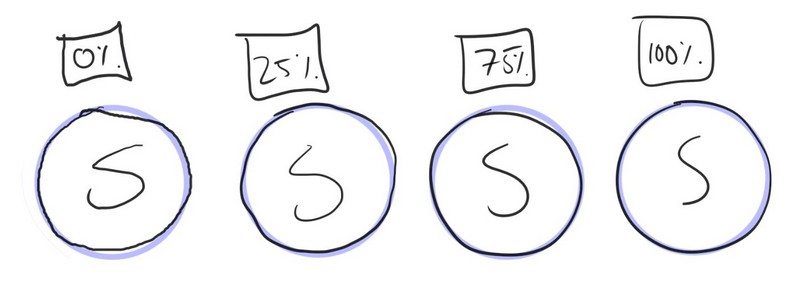
- Smoothing kicks in *after* you draw the line and lift your pen
- Different size strokes will need different levels of smoothing
- Use smoothing to help you neatly ink lines, and hide ‘wobble’ from your hand
- Smoothing will round out sharp corners
Taper Length and Taper Bias
Taper tells your line to taper off smoothly from full size/pressure to a thin point. It has two different properties that you can tweak: Length and Bias

- Taper Length controls how long the ‘tail’ is, and how steeply it drops off in size. Length uses the available pressure settings to calculate the ‘drop off’ (how thin the taper gets). Nothing will happen with 0% or 100% Pressure.
- Taper Bias controls which direction it’s biased in, so you can control whether it tapers off more towards the beginning or the end of your stroke.
- Combine Length and Bias to calculate the exact shape of the taper.
- (Note: Taper Bias isn’t in the mobile apps, so it defaults to being the same as 50% bias).
Square Head
Square Head literally toggles on a square head for the nib, instead of a round one.

Combine it with Aspect to get different nib shapes.
Antialias Edge
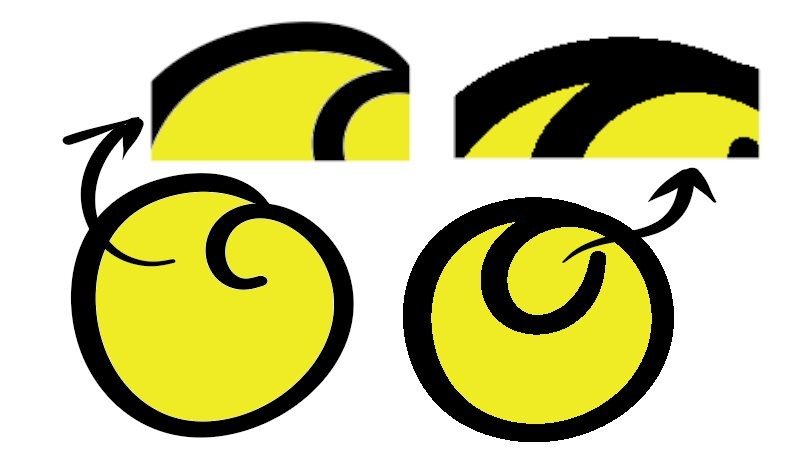
Antialias Edge toggles antialiasing off and on. Antialiasing is the edge smoothing effect that blends out the sharp pixel edges you would normally get with any digital line (think MSPaint!).
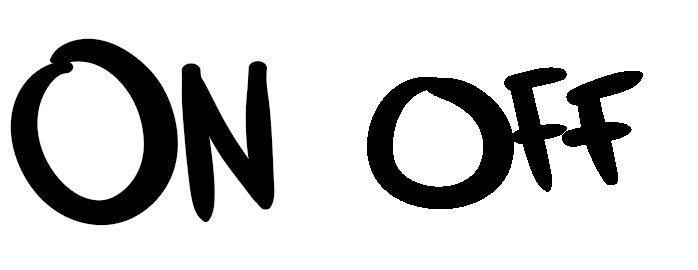
You would turn Anti-alias Edge off if you wanted a very pixelated edge, or you needed to fill the area inside without the smoothing getting in the way and creating little white unfilled areas along the edge (this is usually only noticeable if you are zoomed in close/working with small canvases – we’re talking *pixel sized edges* here!).
Looking for more tips?
Browse the guides over on the right or head to the tutorials page for more advanced tips.
