Using Warp in ArtRage 5 to Distort and Transform Paint
 ArtRage 5 introduces Warp, which lets you smear, swirl, and otherwise distort your painting. It is similar to Photoshop’s Liquify filter, but specifically designed to respect ArtRage’s paint properties, so you won’t lose texture or paint depth when distorting. This means that you can make an adjustment and then switch right back to the traditional media tools you were using before.
Open Warp mode by going to Edit > Filters > Warp
Settings

You can adjust the settings to get a range of very different effects.
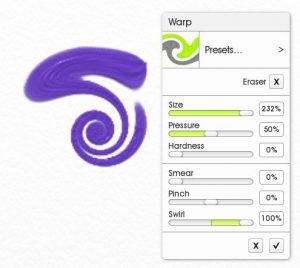
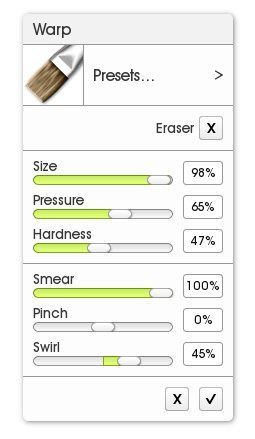
- Size: Area of warp effect (hold SHIFT to increase it up to 500%)
- Pressure: Strength and speed of warp effect.
- Hardness: How sharp edged or gradual the boundary of the warp is.
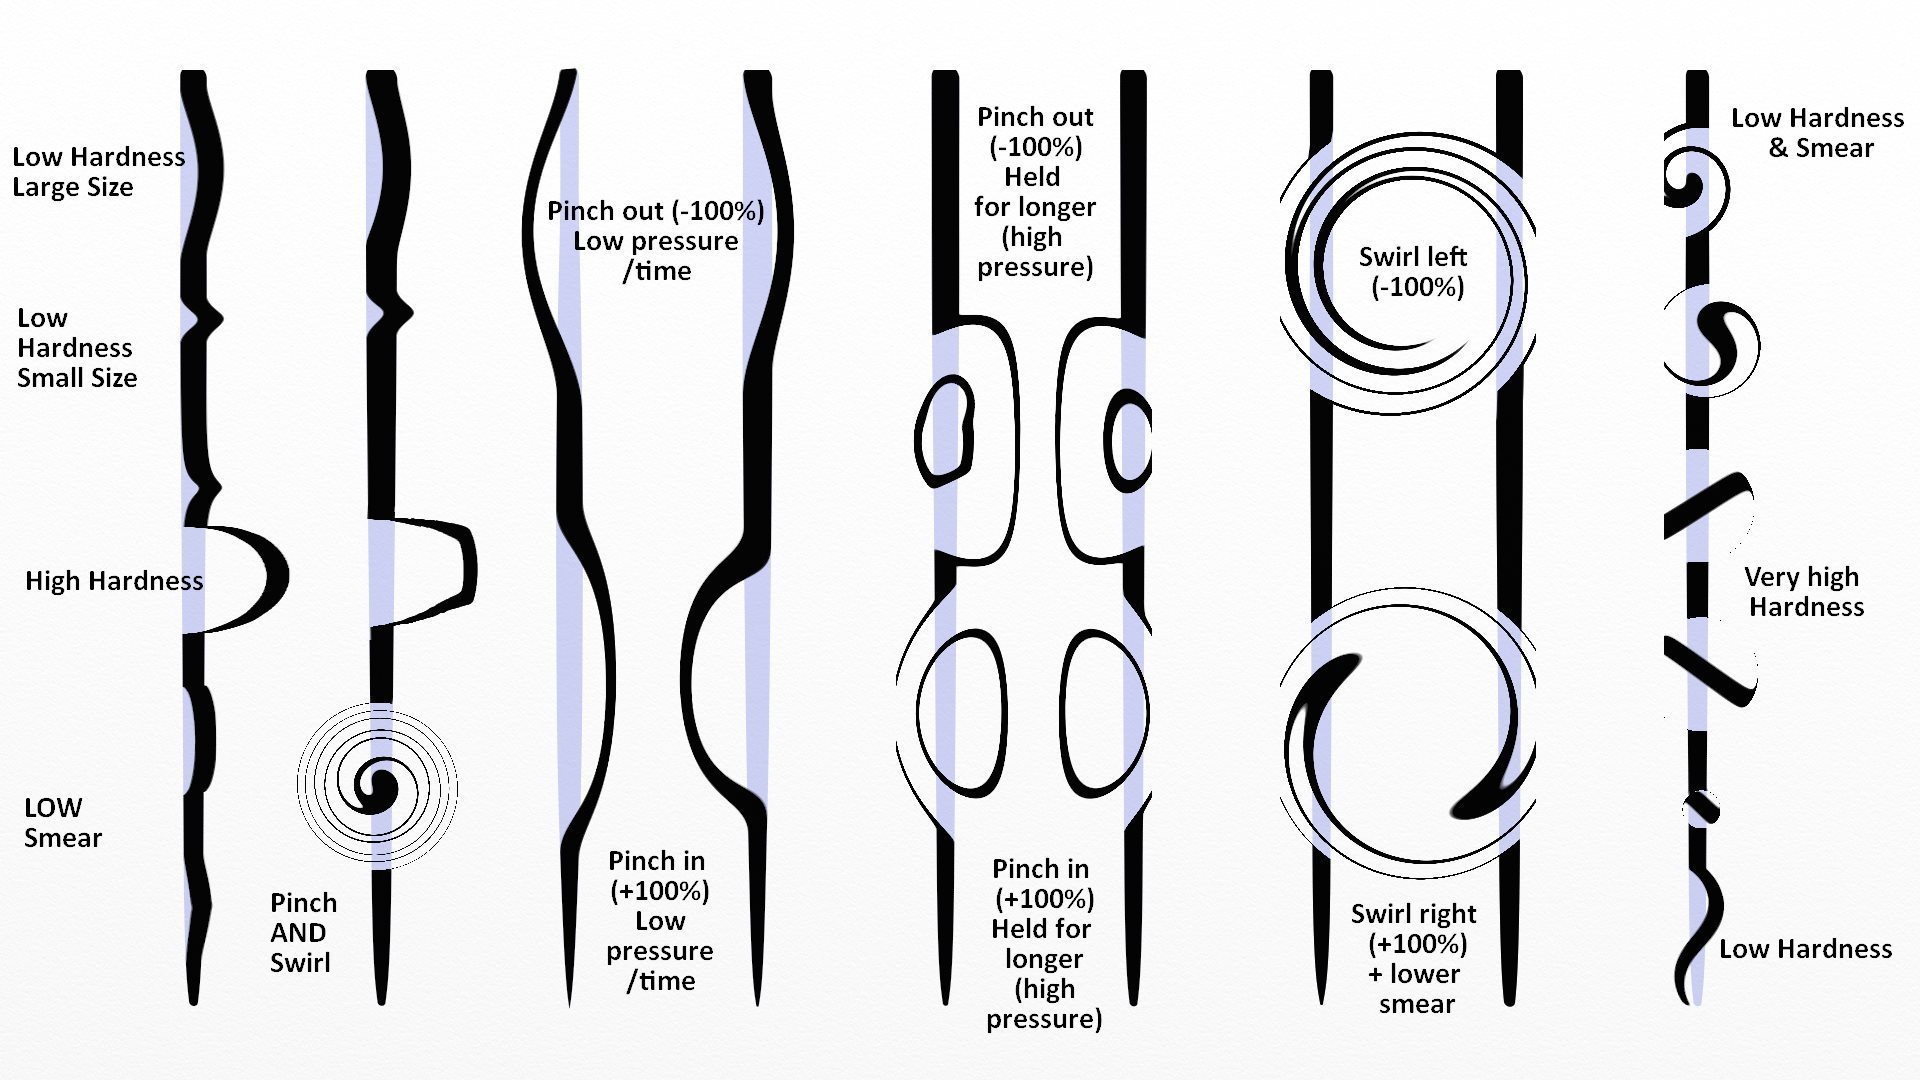
- Smear: The distance paint moves (how easy it is to smear around, how much paint is pushed or pulled).
Pinch and Swirl will actively rotate the paint without you moving the cursor. For a perfect circular effect, just click and hold. If you don’t want the paint to move, leave these settings at ‘0%’.
- Pinch: the paint is pinched inward (negative) or outward (positive). This makes things larger and smaller, and is good for ‘magnify’ effects. If you make the tool size much larger than the paint, it will shrink or increase the size without distorting it.
- Swirl: the paint rotates left (negative) or right (positive). Hold it long enough and you’ll get spirals. If the size is larger than the area of paint, it will simply rotate it without distortion.

How To Undo
- You can undo one step using Ctrl + Z.
- You can use the Eraser option to undo any warped area of paint while still in Warp mode. The Eraser mode allows you to edit Size, Pressure and Hardness.
- Changes are not saved until you okay them by clicking the’tick’ in the bottom right. If you don’t like any of the changes, just click the ‘x’ or press ‘Escape’.

You can only warp the current active layer, if you need to edit multiple layers of paint at the same time, you must merge them first. You cannot Warp editable text, it must be rasterized (converted into paint) before it can be warped.
Warp Tutorial Video
Watch the Warp mode live in this video. Turn on Annotations to read the tips explaining what is happening, or scroll down to learn about the tool settings.
(Click above to play video)
Use Warp for Subtle Corrections

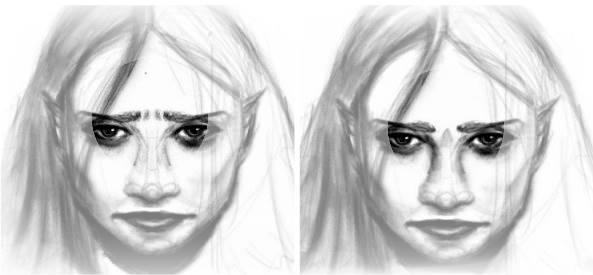
Along with the more obvious dramatic effects, you can use Warp to slightly adjust facial features, the shape of a jaw, the quirk of a smile, the curve of a wave… For example, in this pencil sketch, Warp was used to reshape the bridge of the nose and the eye brows, changing her expression.
(Click above to play video)