ArtRage for iPad Layers Menu and Options
What Are Layers?
ArtRage Paintings are made of a stack of transparent ‘layers’, each of which can have its own painted content. Each layer can be edited without changing the content of other layers, so you can edit parts of your painting without fear of damaging others. Layers are like transparent sheets of plastic, where there is no paint on a layer you can see the layers beneath, they can be moved around independently, and their order changed to adjust the position of their contents.
The Layers Panel
The Layers Panel displays all of the layers that are available in the current painting. Using this panel you can add, edit, and delete layers.
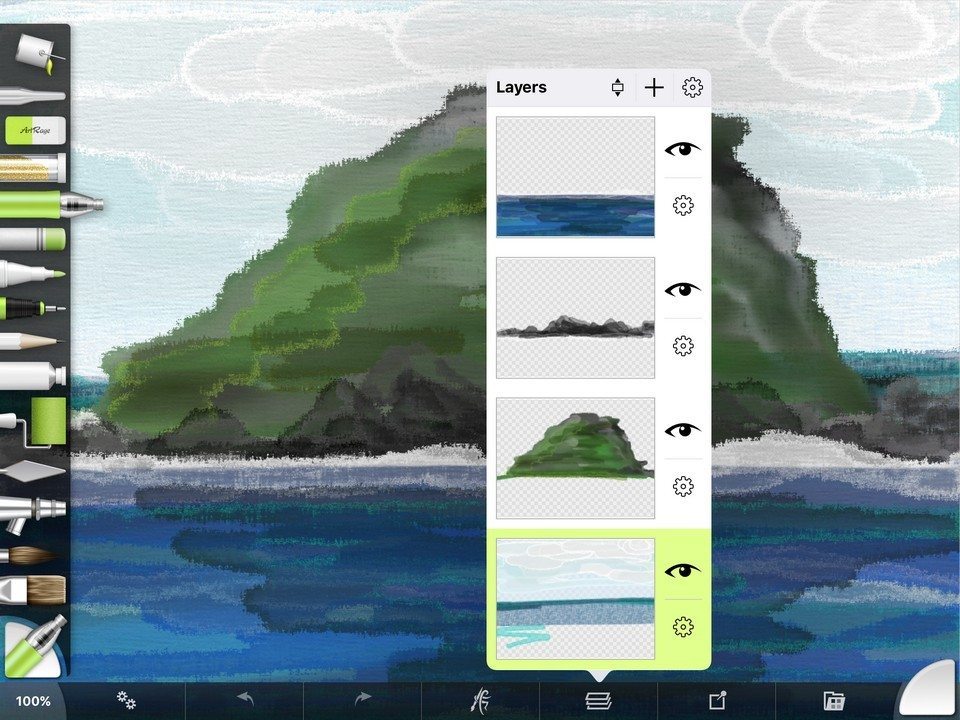
The currently selected layer is where paint will be applied when you use your current tool. This layer is highlighted in green in the Layers Panel. Tap a layer to select it.
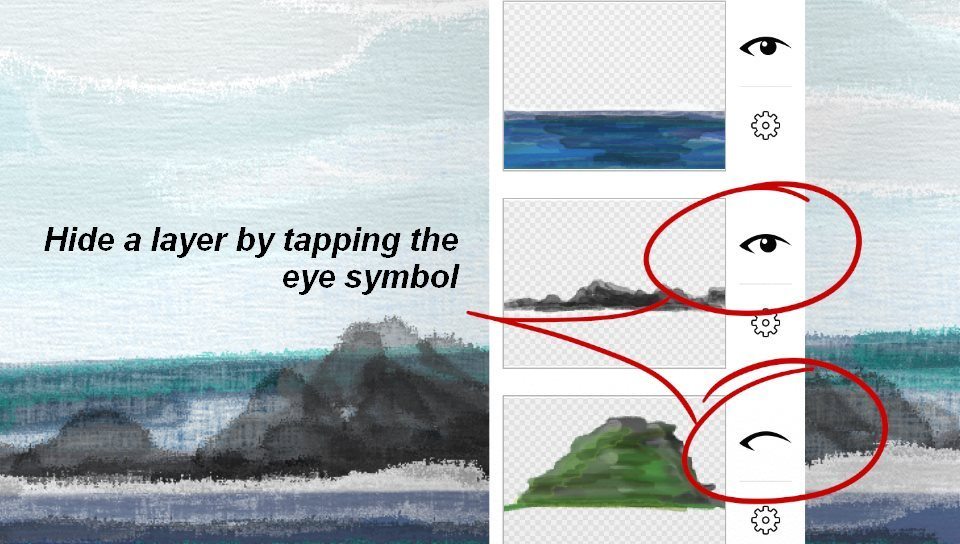
You can temporarily hide layers by tapping the eye icon next to their preview.
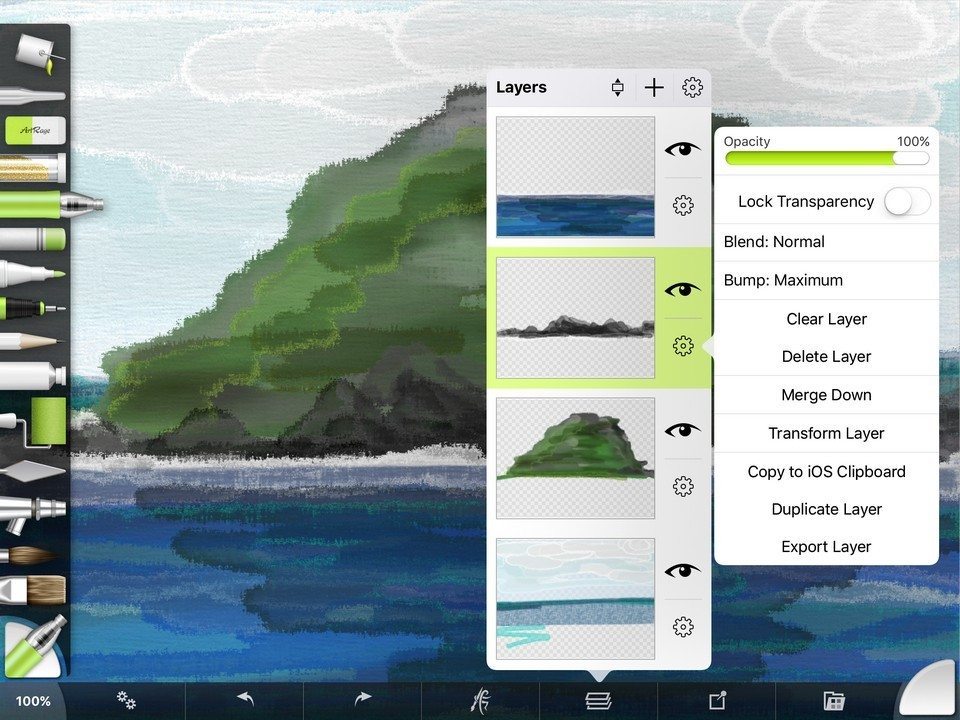
Beneath that is a cog icon that provides you with options for editing the layer, including changing its blend mode (how it interacts with paint beneath it), changing its opacity, and options for copying contents.
Layers appear in the Layers Panel in order representing how they are stacked. The topmost layer in the panel sits on top of the layers beneath, so any paint you apply on this layer will cover over paint on the layers below. You can move layers in the stack by tapping the Move button on the title bar of the panel then dragging the layers using their drag handle.
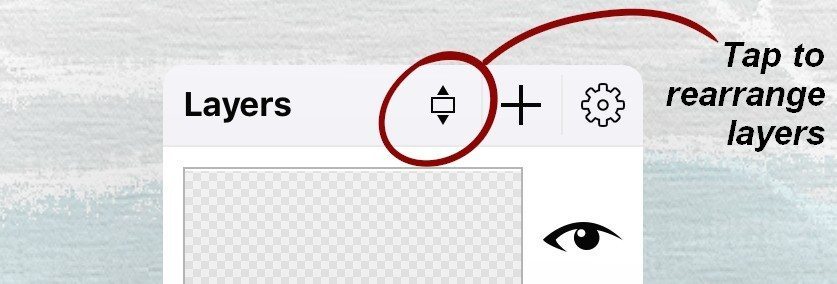
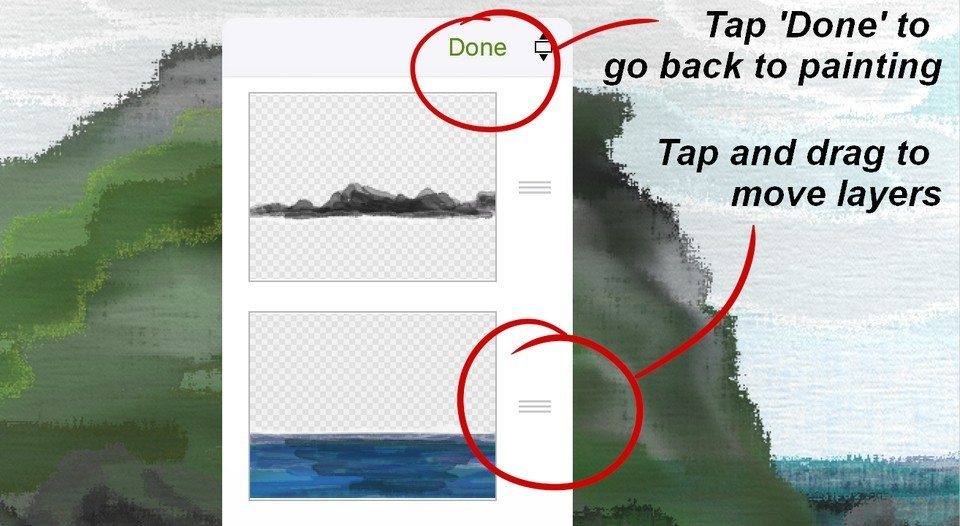
Shortcut: Tap and hold on a layer’s preview to activate move mode.
When you adjust the order of layers in the stack, the appearance of the canvas will change as you move paint in relation to paint on other layers.
Transforming Layers
Sometimes you may want to change the size of the contents of a layer, or move them on the canvas. You can do this by transforming the layer.
Tap the cog button next to a layer and choose the Transform option. This opens up the Transform interface.
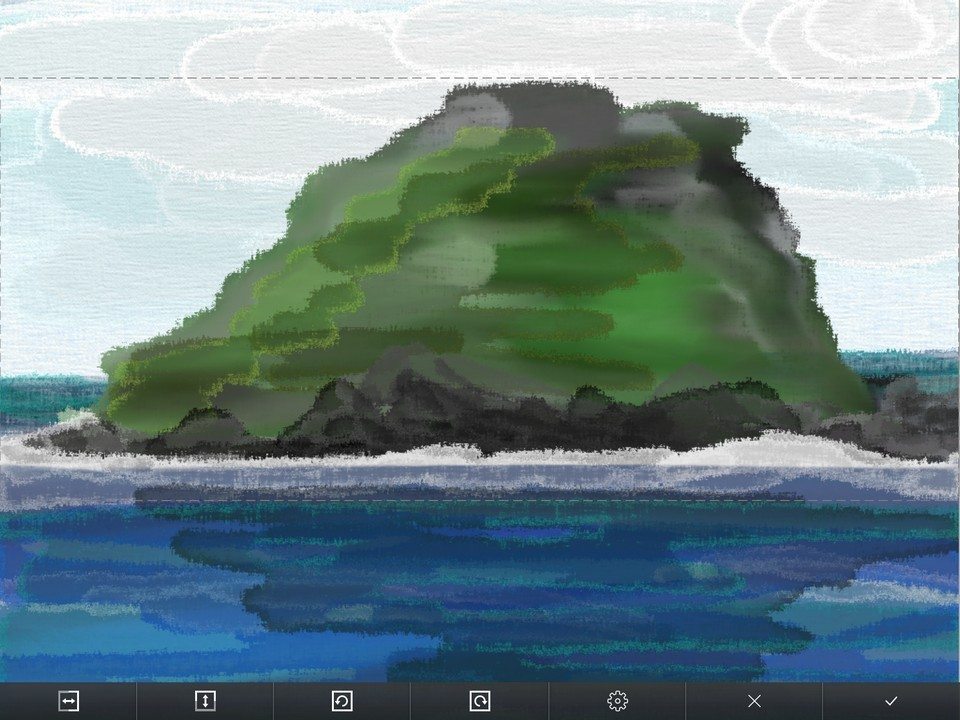
The layer that you chose to Transform will be outlined with a dotted box. When you are done transforming the layer, tap the tick button to apply the change.
When transforming, there are a number of things you can do:
- Tap and drag with one finger in the dotted box to move the contents of the layer.
- Tap and pinch with two fingers in the dotted box to scale the contents of the layer.
- Tap and rotate with two fingers in the dotted box to rotate the contents of the layer.
The buttons on the toolbar at the bottom of the screen allow you to flip the contents of the layer
and rotate it in 90 degree increments.
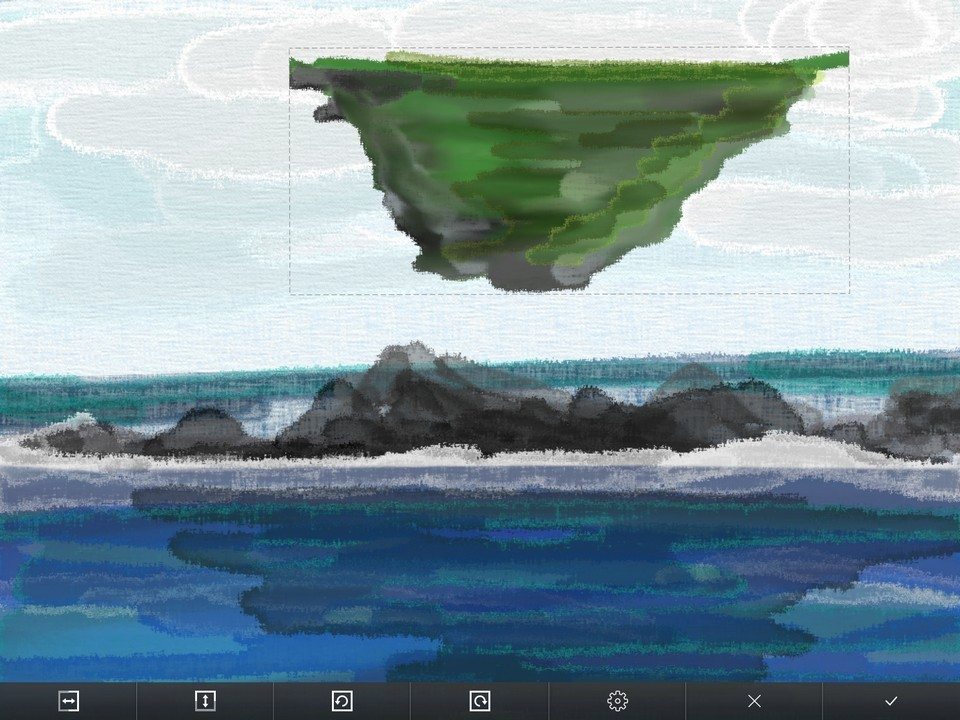
You can also adjust the scale of the canvas while you are transforming a layer. This allows you to adjust what you can see if you need to move the layer contents to a new area of the canvas. To do this use two fingers outside the area of the dotted box.
Transform Locks
There may be times where you need to adjust the canvas view in Transform mode but your screen is filled with the Layer you want to adjust, meaning two fingers will move the layer contents. Alternatively, you may find that you want to adjust the layer contents but are finding it hard to do so without adjusting the canvas. To help with this you can use Transform Locks.
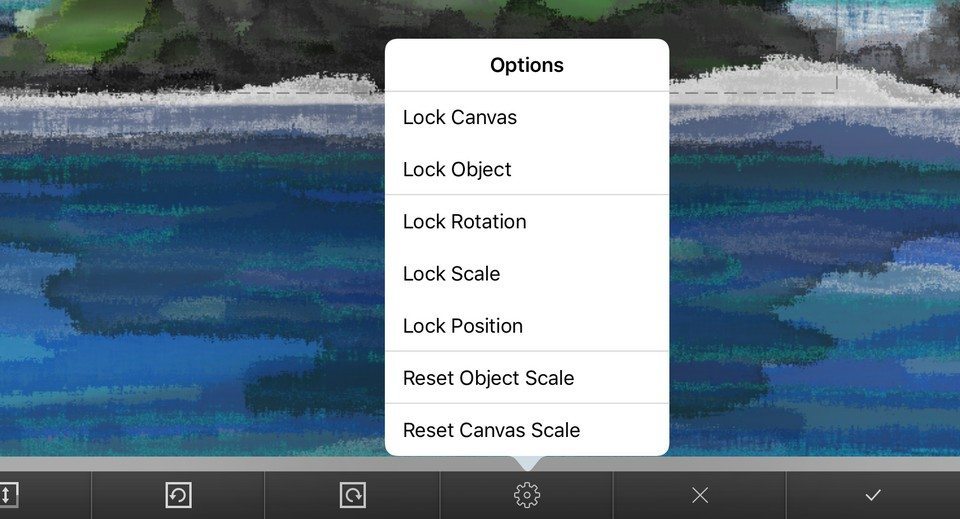
Tap the cog button on the toolbar and you will see a set of options for locking various transform properties. A property that is locked cannot be adjusted. For example, if you completely lock the Layer, any two finger adjustments you make on the screen will be applied to the canvas, so you could zoom out in a case where the Layer fills your screen.

When a lock is active it will be represented at the top of the screen by an icon button. Tap one of these buttons to disable the lock.