Airbrush
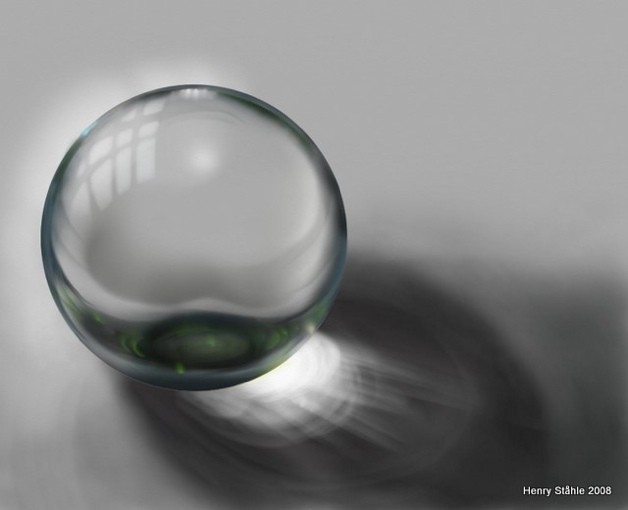
The Airbrush allows you to spray a fine mist of paint. The spray coats the surface of the Canvas, tinting it without flattening any paint that was already there and without blending with any color beneath.
The Airbrush has the following features:
- Dryness: The spray from this tool is thin and dries really quickly. This means that if you run the Palette Knife over it after spraying you won’t get smearing and blending, the paint on the Canvas will be smudged instead.
- Shape: The Airbrush provides control over the shape of your stroke, supporting tilt information from tilt sensitive input devices to create conical sprays, and allowing you to create dagger strokes by tapering the stroke over its length.
- Flow: The Airbrush can be set to keep spraying as you hold the tool still, so you can make it really transparent and remain in one area to get subtle tints that vary over the length of the stroke. Pressure also adjusts flow speed, allowing you to manually adjust the density of the mist that is sprayed while you paint.
Settings
Blend Mode: The Airbrush allows you to adjust the color of the spray by applying a blend mode as the paint is sprayed on the Canvas. Unlike Layer Blend Modes, the blend mode used by the Airbrush is applied to the paint as it lands on other paint, it does not change the color of the paint if it is landing on a blank area of Canvas. The Blend Mode will also only apply to paint on the current Layer, it does not change the color of the paint as it passes over paint on a different layer. For more general information on what Blend Modes look like when they are used, see the section on Layers.
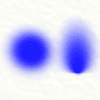
Tilt Angle: This setting controls the default angle the Airbrush is considered to be tilted at when you use it. Tilting the airbrush changes the shape of the spray and the higher this value is set the more conical the spray becomes.
Setting Tilt to 0% creates a circular ‘direct down’ spray. If you are using a stylus that provides tilt information this value can be set to increase the amount of tilt your stylus will apply as you work.
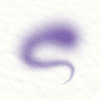
Taper Length: This setting allows you to tell the Airbrush to taper its stroke over time. If the value is set to 0% the stroke will not be tapered at all. If the value is set higher than 0% the stroke will taper. The higher the value the longer the time before the stroke tapers.

Opacity: Controls the basic opacity of the spray and indicates the maximum opacity each stroke can be. If you want to create subtle tints, set this value below 100% and you will not be able to apply a fully opaque spray no matter how long you spray each individual stroke. Strokes can still become more opaque as they overlap each other.

Hardness: Controls how sharp the edge of the Airbrush spray is. The higher the value, the sharper the edge of the spray area becomes.

Drip Spread: Controls how much spatter there is from the Airbrush. Set this value above 0% to cause the tip of the Airbrush to create droplets. The higher the value, the wider the droplets spray through the area of the stroke.
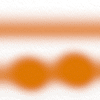
Autoflow: If this setting is on the Airbrush will continue to spray paint while the cursor is held still. If this setting is off the Airbrush will only spray when you move.
When the spray continues on its own it can build up to form a larger patch of paint if you hover over a single spot on the canvas. Turning Autoflow off prevents this and allows you to make more consistent strokes.