Ink Pen
(This page is from the ArtRage 4 manual)The Ink Pen is a precise, solid line pen that can be used for illustration or detailing without blending with other paint on your Canvas. The Ink Pen comes in round or chisel-tip forms and also allows you to automatically smooth your lines, removing some of the irregularities that can appear when using a mouse or stylus.
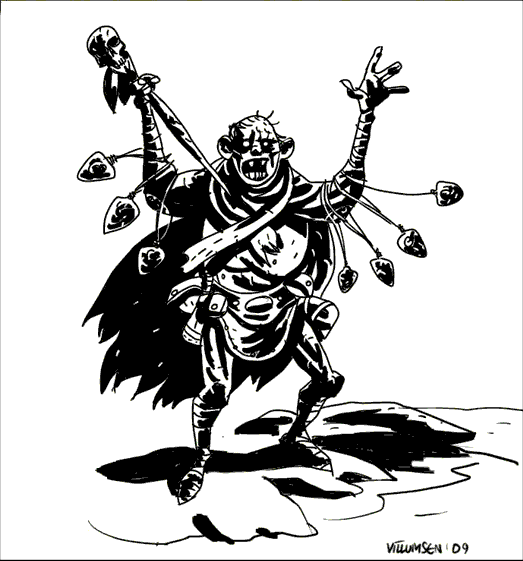
The Ink Pen has the following features:
- Dryness: Inked lines dry immediately so they do not interact with other paint on your Canvas. They will not blend or change their shape as you use them over other paint.
- Shape: The shape of the pen head can be adjusted, changing from square to round and adjusting how much of a chisel tip it has. This changes the thickness of the stroke depending on direction as you draw, rather like a calligraphy pen.
- Smoothing: The ink pen can adjust your strokes after you paint them to make them smoother. This helps reduce the wobbles that can occur when using a mouse or stylus.
Settings
Blend Mode: The Ink Pen allows you to adjust the color of the ink you are drawing with by applying a blend mode as it is applied to the Canvas. Unlike Layer Blend Modes, the blend mode used by the ink is applied as it lands on other colors already on the Canvas, it does not change the color of the ink if it is landing on a blank area of Canvas. The Blend Mode will also only apply to ink that overlaps color on the current Layer, it does not change the color of the ink as it passes over color on a different layer. For more general information on what Blend Modes look like when they are used, see the section on Layers.
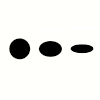
Aspect: Controls how flat the tip of the pen is. A 100% aspect means that the tip is entirely circular or square depending on other settings. A 50% aspect creates an elliptical or rectangular tip. A 0% aspect means that the tip has been flattened down to a single line.
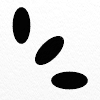
Rotation: Allows you to change the default rotation of the pen tip. If you have 0% rotation the pen tip lies horizontally by default. As you change the value the default position rotates. So a low aspect circular tip with 50% rotation would look like a vertical ellipse.
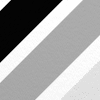
Opacity: Controls the basic opacity of the ink and indicates the maximum opacity each stroke can be. If you want to create subtle lines, set this value below 100% and you will not be able to apply a fully opaque ink no matter how many times you drag over an area in an individual stroke. Strokes can still become more opaque as they overlap each other.
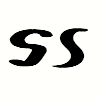
Smoothing: Controls how much smoothing is applied to your stroke after it is complete. Smoothing can be used to make strokes flow more smoothly or remove small irregularities in their shape. Higher values apply more smoothing to your stroke and can significantly change its basic shape and size as ArtRage calculates a smoothed version of the path you took.
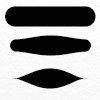
Taper Length: Controls how much the ink stroke tapers along its length. If this slider is set above 0%, when you finish a stroke it will be reconstructed with a taper starting at both end and finishing part way along the stroke depending on the slider value.
A value of 100% means that the taper will meet in the middle.
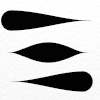
Taper Bias: If Taper Length is set above 0% this controls where the widest point of the taper will appear. If the value is 50%, the widest point will be in the middle of the stroke. If the value is 100% the widest point will be at the end of the stroke. If the value is 0% the widest point will be at the start of the stroke.
The effect of changing this slider varies heavily depending on how much the Taper Length slider is set to.
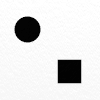
Square Head: If this is on the pen tip is square. If it is off the pen tip is circular.
Antialias Edge: If this setting is turned off the edges of the stroke will not be antialiased. This removes partially transparent pixels from the edge of the stroke and can create a jagged look but can be useful if you are inking for a print medium that is high resolution and has problems when printing partially transparent areas.