How to Paint Photorealism in ArtRage with Vic Shelley
Vic Shelley creates painstakingly photorealistic images with ArtRage. This tutorial explains the tools and methods he used to create the ‘Camilla’s Sugar Bowl’ painting.
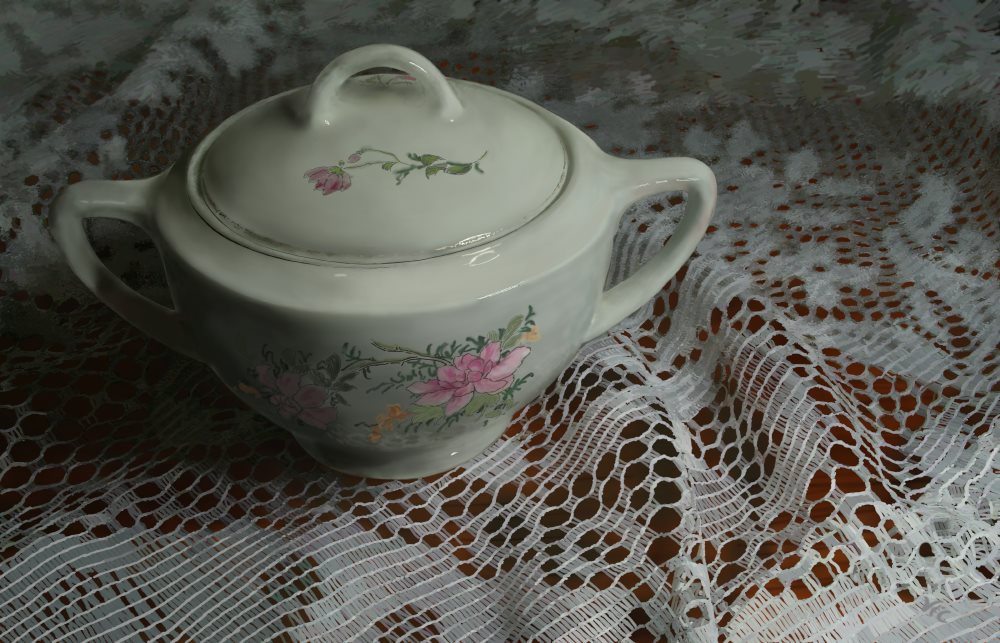
Details: ‘Camilla’s Sugar Bowl‘ is a photorealistic painting of a ceramic sugar bowl with floral decoration sitting on a lace tablecloth.
- Time: 80 hours
- Size: 4000 x 2700 pixels
Techniques
I’ve done paintings where people question whether it is a photo or a painting. So let’s dispel that notion first thing. While on occasion I will create a composite-photo to use as a reference for my paintings, every pixel in this painting, Camilla’s Sugar Bowl (9 by 14 inches), was painted by hand with my Wacom pen and Intuos 5 touch tablet and ArtRage.
Here are a few techniques I use to give my paintings more realism.
Zooming
ArtRage allows you to expand the canvas to 800%. Working at high magnification and them pulling back to view, can work wonders on realism. If we reverse-engineer this process, we can watch the ‘realism’ break down.
A closer look at the detail, note the reflection of the lace on the bowl…
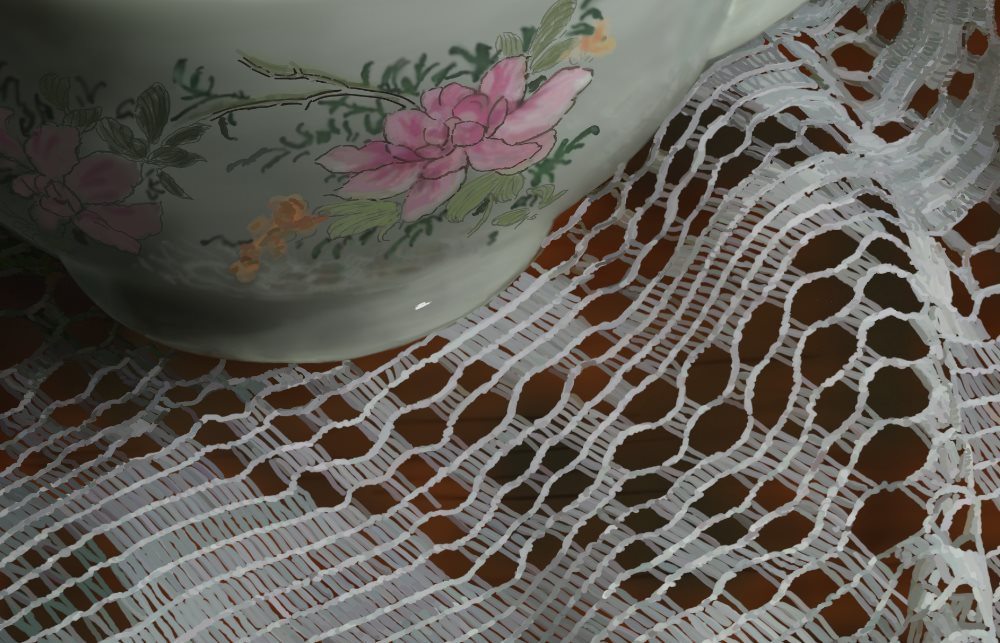
Zoom in…
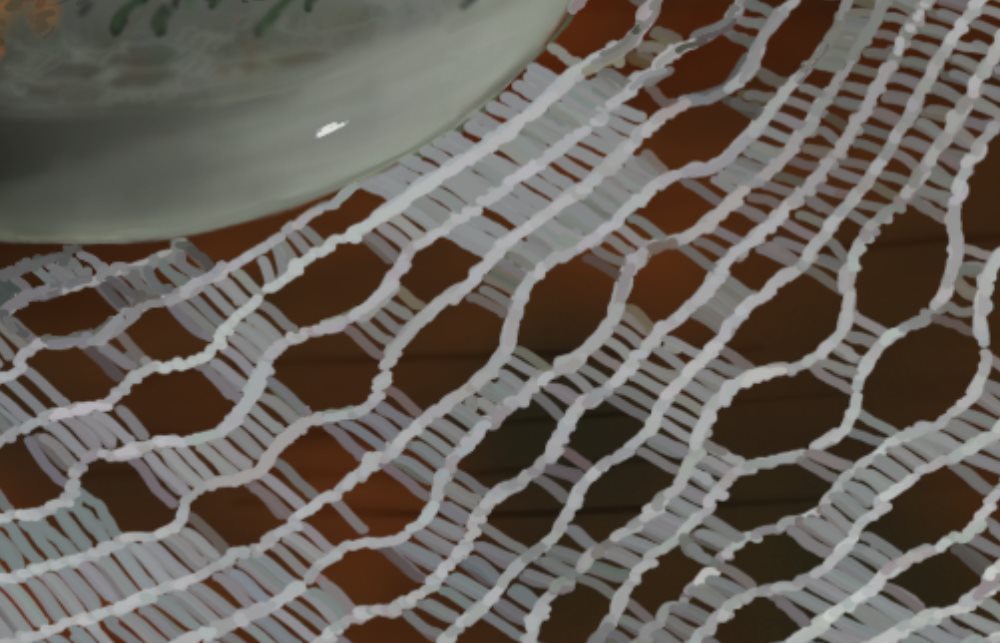
Zoom in more…
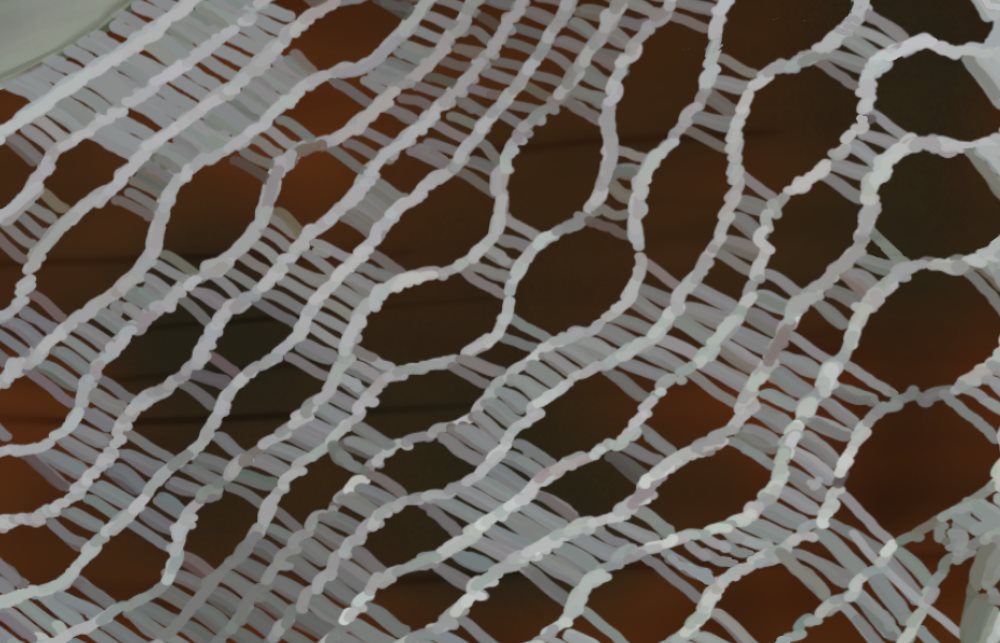
Here, the lace begins to break down into little pieces of ‘rice’. Those are paint strokes in various shades. It is now obvious that this is not a photo. Each of those single little pieces took three pen strokes, and the same with the cross-threads at each end of each piece. If you look again at the whole painting, you will understand when I say it was a real endurance test (and I’ve done much larger pieces).
References
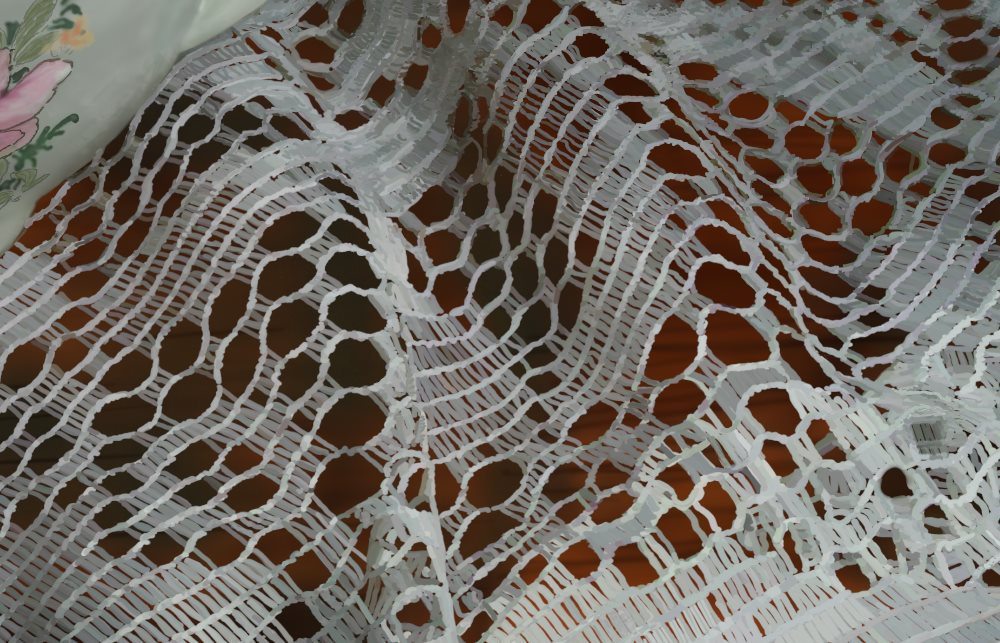
I did not paint the lace from memory, for me that would be impossible! Fortunately, ArtRage made it easy to trace the lines of the lace, which I then used as a reference for the pattern. I will say however, doing the lace was an act of faith, since for many hours it looked flat and not much like lace…
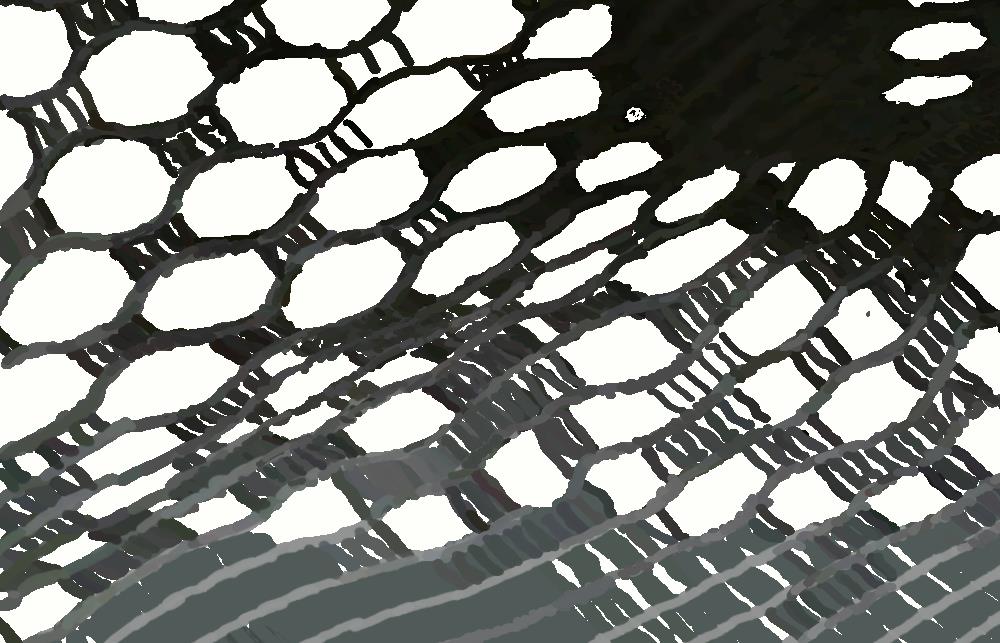
Layers
Using the transparent layers in ArtRage, I was eventually able to fly in a wood surface underneath and shadowing, until finally the lace came to life and popped out in a glorious 3D!
Shadows & Highlights
While the lace turned out to be more of a challenge than I had imagined, the bowl turned out simpler than I anticipated.
I used the Airbrush to rough in the bowl and add shadowing.
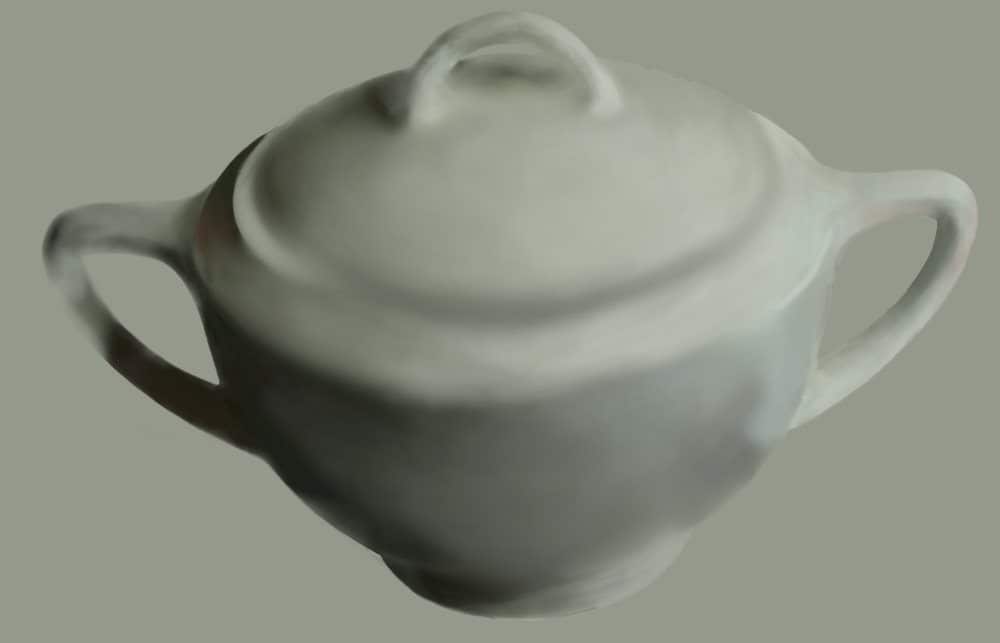
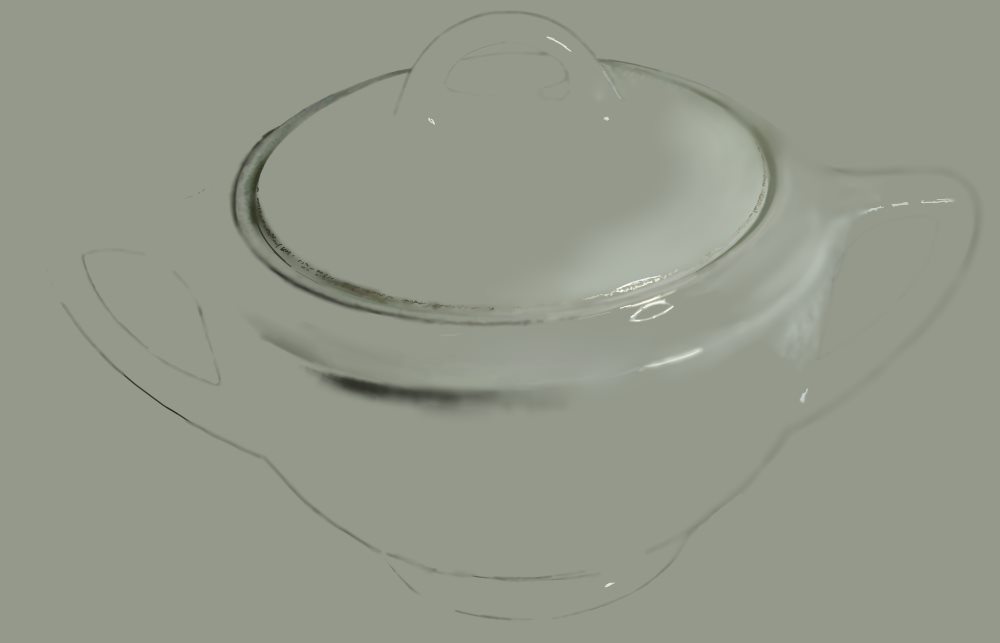
The magic then came from creating highlights to ‘fire’ the raw image…here are the highlights only…
In the final image of the painting you can see how shadowing and highlighting greatly contribute to the image’s realism.

Blurring
You will notice that the painting has a field of depth simulation (thanks to the Palette Knife), and while this can further add realism, the real motivation behind it was saving me tons of more finish-work by softening the background lace, rather than adding the same level of detail as the foreground.
Patience
I do have to say, for me, doing photo-realism is like running a marathon that has no finish line—I go until I can’t anymore. I even had to deal with thumb and wrist problems!
I find ArtRage a true joy to work with, I did not know I could paint, much less attempt the kind of projects I have, until I began using the program.
More Art by Vic Shelley
About Me
I’m a former artist-manager living near Vancouver, Canada, now painting full time.
I began painting just over a year ago after downloading the free ArtRage demo. Since then I have explored dozens of styles and genres and am having a blast. You can see my work at victor-shelley.pixels.com.
